Getting started
1. Try the browser demo
Section titled “1. Try the browser demo”Open the browser demo to explore the app with sample data. The demo uses mock repositories only, so it cannot read credentials or call real Firebase projects.
2. Install the desktop app
Section titled “2. Install the desktop app”Use the latest release from GitHub once packages are available for your platform. The app stores project settings locally and uses the desktop runtime for live Firebase operations.
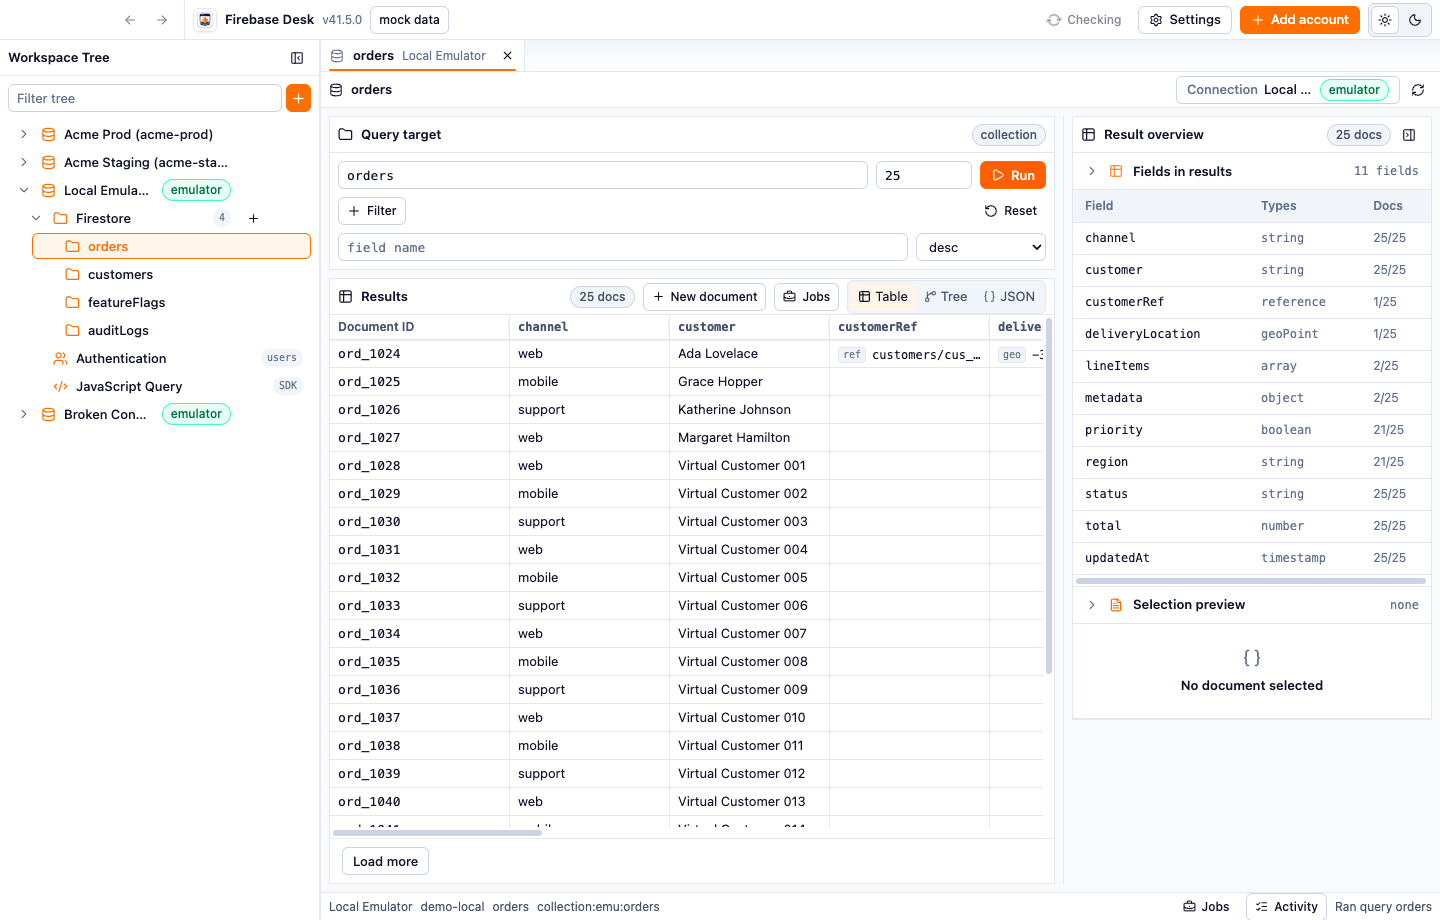
3. Start with an emulator profile
Section titled “3. Start with an emulator profile”Add a local emulator account with:
- display name
- Firebase project ID
- Firestore emulator host, for example
127.0.0.1:8080 - Auth emulator host, for example
127.0.0.1:9099
This gives you the same workspace shape as production without production risk.
4. Add production only when ready
Section titled “4. Add production only when ready”Production accounts use service account JSON. Keep names explicit, for example Acme Prod and Acme Staging, so tab and tree labels make the target obvious.
5. Use tabs for environment separation
Section titled “5. Use tabs for environment separation”Open Firestore, Auth, and JavaScript Query tabs per connection. Firebase Desk keeps the selected connection in the tab model so switching work does not silently retarget operations.